
20 March 2024
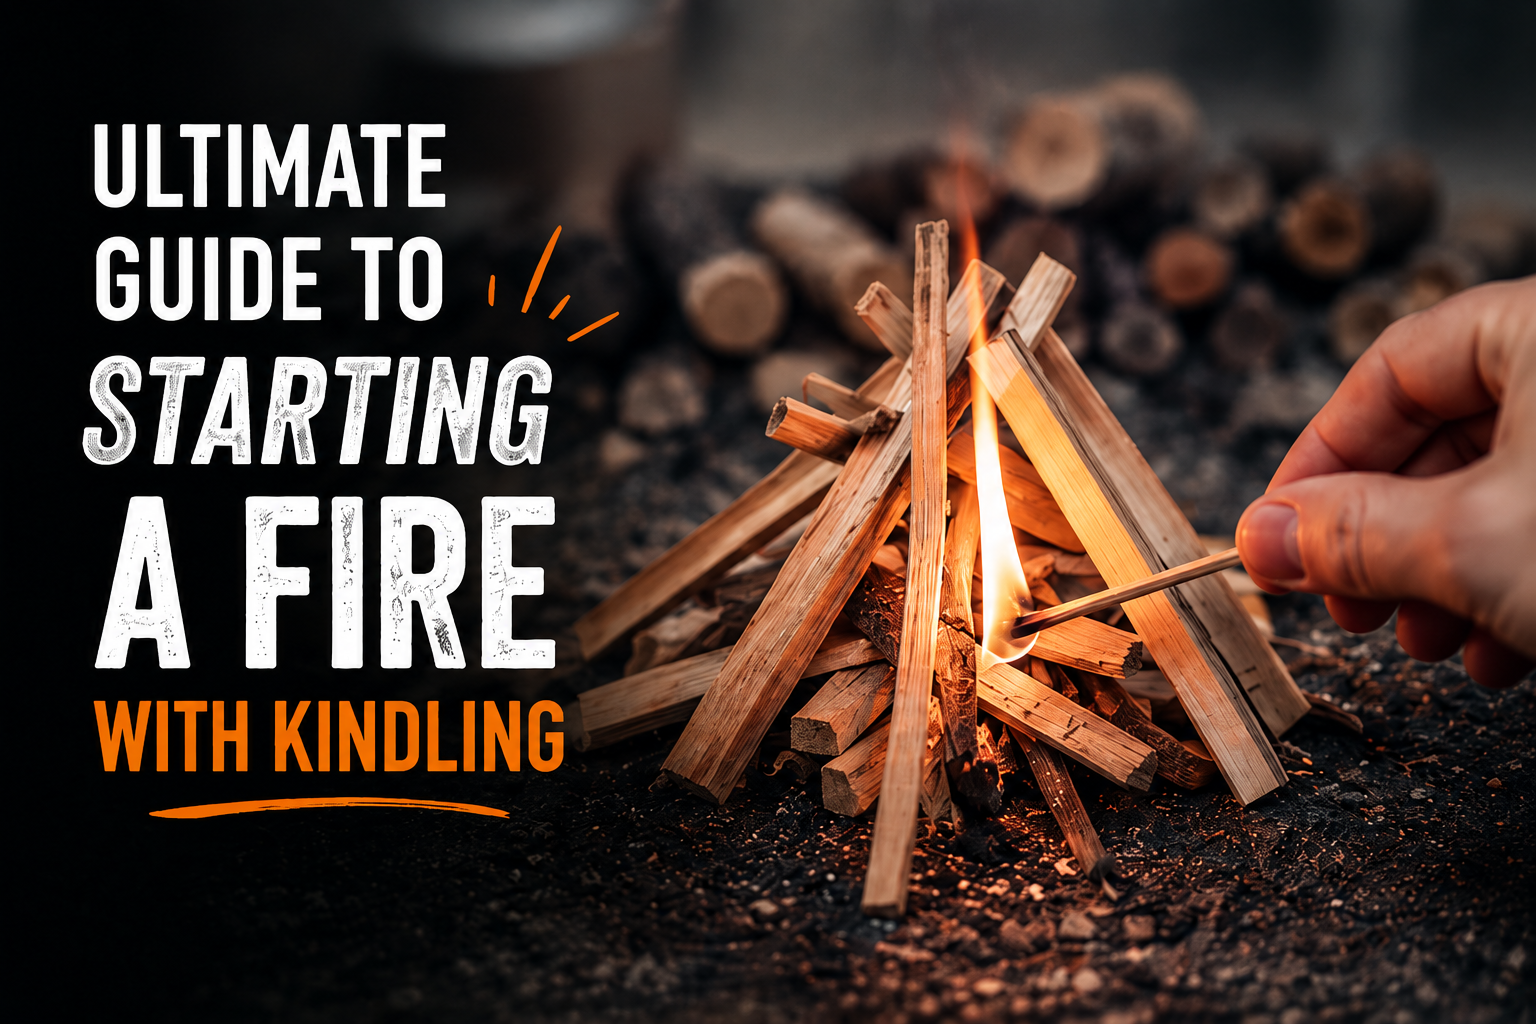
How to Start a Fire with Kindling Every Time
The most common reason a fire fails to take hold isn't the wood or the logs — it's the kindling. Either there isn't enough of it, it's too damp, or it gets smothered before it's had a chance to produce enough heat to light the logs. Get the kindling right and everything else follows naturally.
What kindling actually does
Firelighters and paper get a flame going quickly but they don't produce much heat. Logs need sustained heat to ignite — not just a brief flame. Kindling bridges that gap: it catches from a small flame and burns hot enough, and long enough, to bring logs up to ignition temperature. Skipping kindling and going straight from firelighter to log almost never works.
Dry kindling is non-negotiable
Damp kindling is the single most common cause of a failed fire. If you pick up a stick and it bends without cracking, it's too wet. Properly dry kindling snaps cleanly. Store it indoors if you can, or in a covered log store with good airflow. Kiln-dried kindling nets are the most reliable option — consistent moisture content, split to the right size, ready to use.
Building the fire
Start with a firelighter. Place one or two wax-based firelighters in the centre of the grate or fire bed. Wool firelighters with a wax coating are more reliable than the white compressed-paper type — they burn longer and don't collapse into ash before the kindling lights.
Build a kindling grid over the top. Lay three or four pieces of kindling across the firelighter, then another three or four on top at 90 degrees. You're creating a small log-cabin structure with gaps for air to move through. Don't pack it tight — the fire needs oxygen as much as it needs fuel.
Add one small log. Once you've got two or three layers of kindling, place a single small log on top. You don't need the full load yet — just enough to give the kindling something to work against.
Light and leave it. Light the firelighter from the front and resist the urge to blow on it or adjust anything for the first few minutes. Let the structure do the work. If your kindling is dry and there's enough of it, it will catch.
Once it's going
When the kindling is burning well and the small log has started to catch — you'll see the edges glowing and hear it cracking — add a second log. Then leave it again. Build up gradually rather than loading the fire all at once; smothering a young fire with too much wood is the second most common mistake after damp kindling.
On a wood burner, keep the air vent fully open at this stage. You can reduce airflow once the fire is established, but in the first ten minutes it needs as much oxygen as it can get.
A note on the wood
Kindling size matters. Pieces thicker than your thumb take too long to catch; pieces as thin as a pencil burn too quickly to generate sustained heat. The ideal is somewhere in between — roughly finger-width, split clean so the surfaces are exposed wood rather than bark. Bark doesn't catch as readily and slows the whole process down.
Our kiln-dried kindling nets are split to exactly this size and dried to under 15% moisture — they catch from a single firelighter and are ready to use straight from the bag.